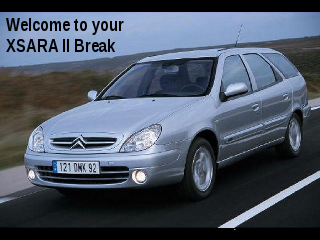
OK, so I’m driving my Citroen Xsara Break N2 the other day and the lights come on, all by themselves. And it’s not the first time this happens! I had the same problem about a year ago and I finally found the time to fix it. Back then I used to drive long distances, usually in rural areas at night, so the problem first appeared differently. My long range headlights (high beam) or fog lights would switch off by themselves. Fortunatelly regular headlights (dipped beam) and position lights would always stay on, so it was not so much a safety issue. More of a nuisance. When the lights started comming ON by themselves during the day, when they were normally switched off, it became irritating. People thought I was signalling them etc.
I searched the web for information on how to remedy the problem, but most would suggest replacing the whole stearing wheel swithes unit (COM2000 unit) with all three levers on it, but I was not prepaired to pay the 250 euro for the part plus whatever citroen would charge to install the thing. After a lot of digging I came across this page: http://citroenc3owners.com/citroen-c3-tips/the-com2000-or-steering-wheel-stalks-an-inside-look-t467.html . It helped a lot, as it described the varius types of mechanisms found in most, if not all, citroen car light swithces levers. I realised that I did not need to replace the whole COM2000 unit (airbag coil and all). Instead i could repair the swithes on the one particular (lights) lever.
First time I fixed it, I just used some contact cleaning spray. That did the job for about 9 months, but I did not document the procedure. This time I thought I’d save someone the trouble of scouring through the net for hours for detailed instructions on something relatively easy to do that will save them quite a bit of money.
Here it goes:
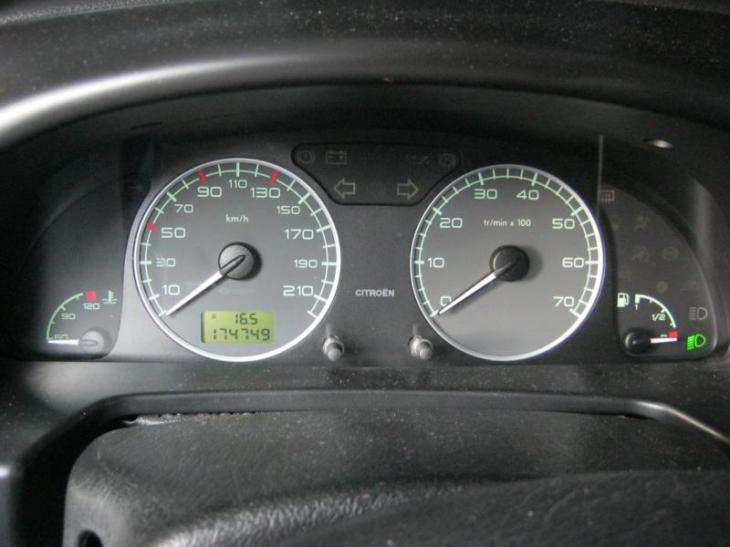
When your citroen lights start developing a personality of their own, you will notice the green light at the right of the dashboard blinking, instead of being either on or off.
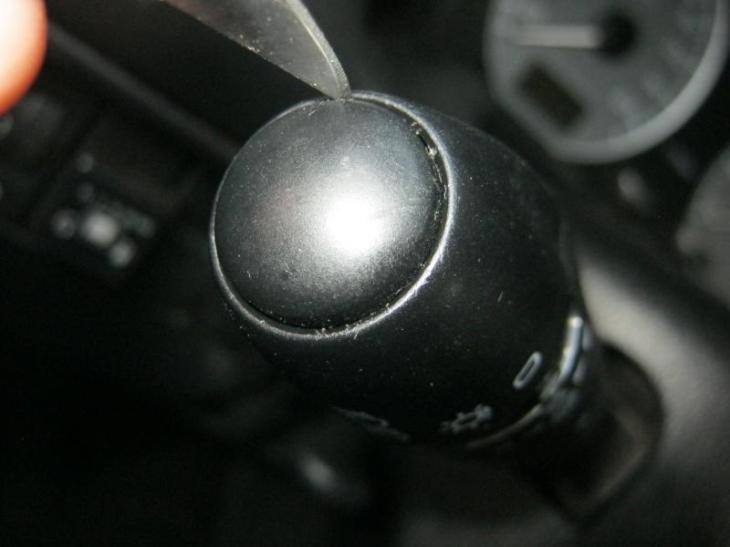
Poke the end cap of the lever out using something thin and pointy. I used a small knife and worked my way around the cap.
I suspect that in some citroen models this end cap has some usefulness as a button (perhaps for the horn), hence the spring underneath it. In my Xsara Break N2 that is not the case.
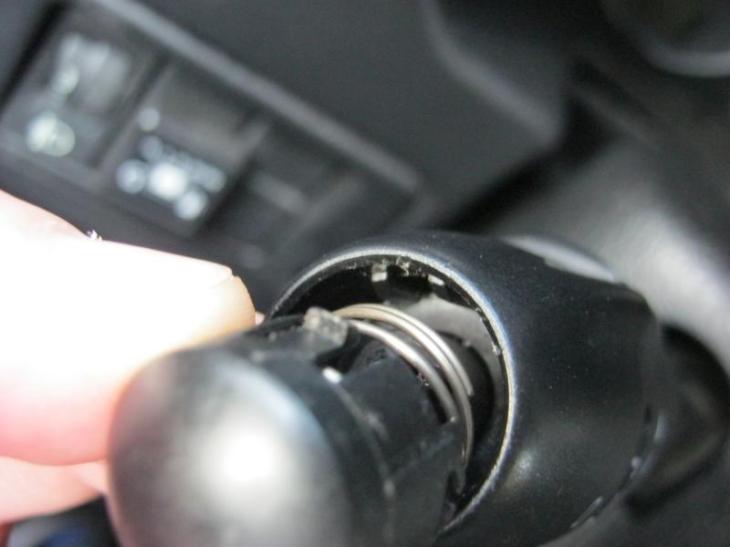
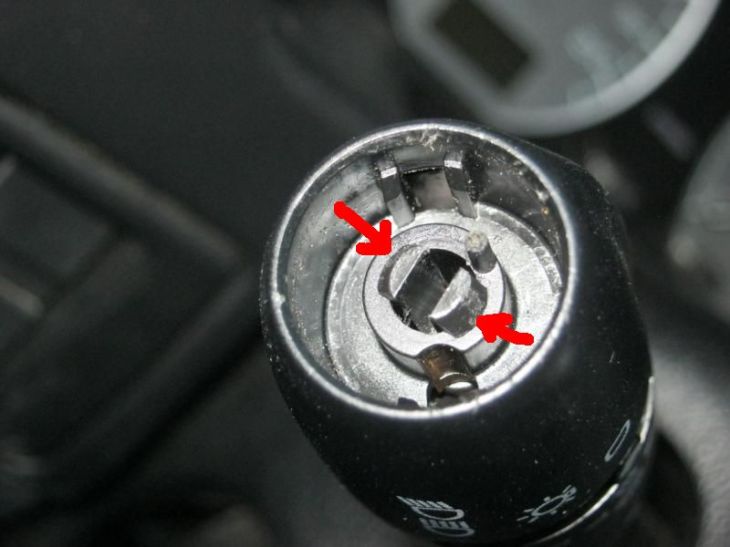
The rest of the asembly is held together by a clip at the centre of the lever.
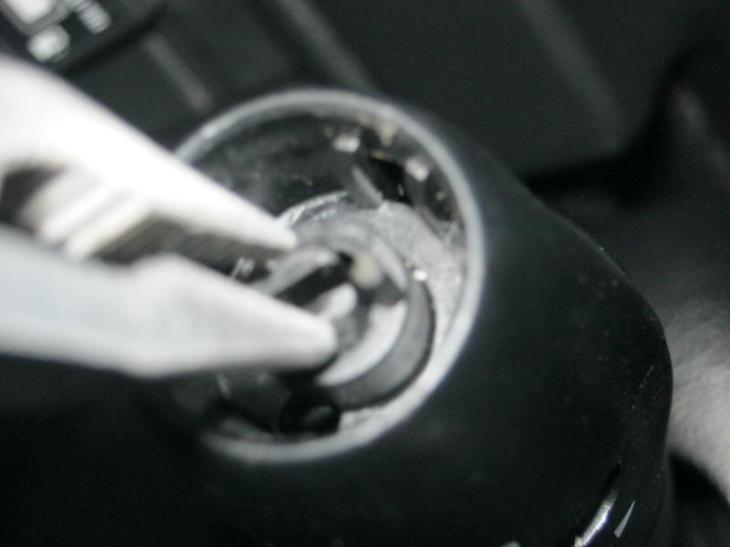
Use some sort of tongs or needle-nose pliers to push the two parts of the clip together and BE PREPAIRED TO CATCH THE SPRING LOADED PARTS which will fly out of the asembly as soon as you pull the switch cover out. The first time I did it I tried wraping a plastic bag around the whole lever, but that complicated things. Wrapping my palm around the lever and slowly pulling the switch cover out worked best for me.
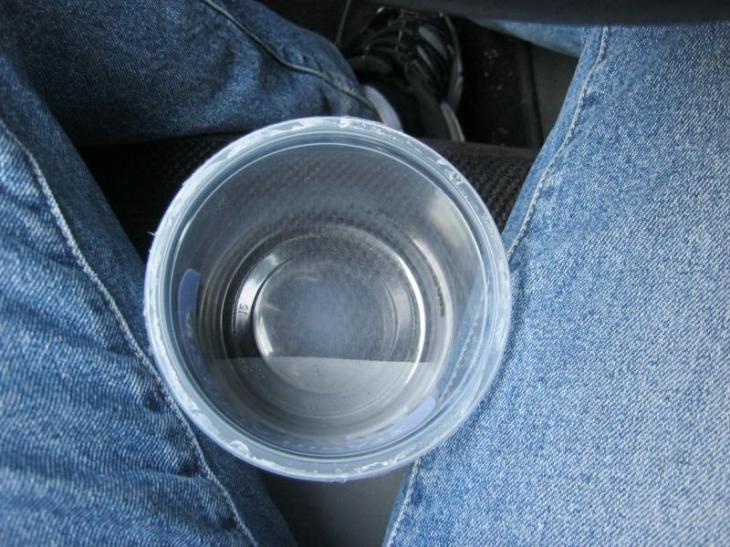
By the way, it’s a good idea to hold some sort of bowl between your legs while doing all this, as i did. It will give you a place to keep all the small parts together, so you won’t lose any of them, and it might just save you the trouble of combing the seat and floor of the car when some small part slips between your fingers (trust me, at some point it will).
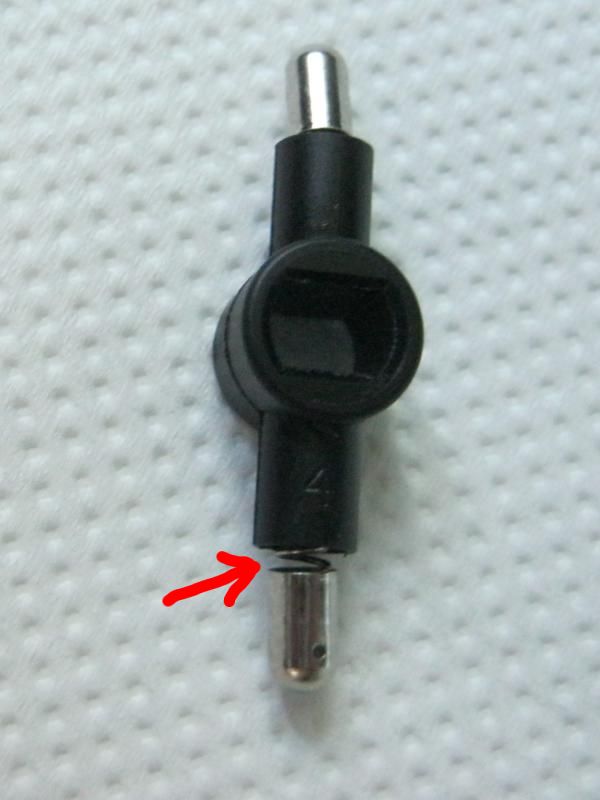
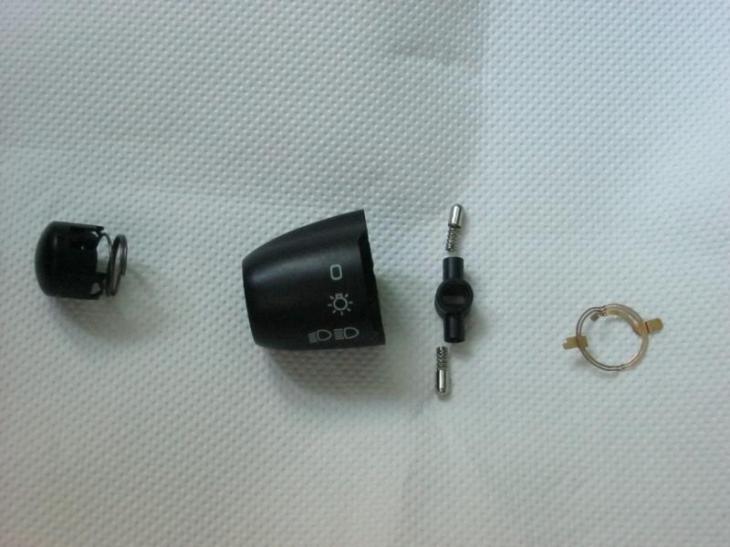
This is the part that makes the light switch click between positions when you turn the lights on and off. Notice the two metallic, bullet-shaped objects sticking out. They are the spring loaded parts you will have to catch when disassembling and contain when assembling the lever.
And these are all the parts you will end up with when you have finished disassembling the light switch, in the order they are to be reassembled (left to right).
END OF PART ONE (DISASSEMBLY)
Please remember, this is a record of what I did, published as a reminder to myself. YOU ARE SOLELY RESPONSIBLE FOR YOUR OWN ACTIONS.
