Picking up where we left off at my previous post Citroen Xsara lights switch repair PART ONE (DISASSEMBLY)…
OK, so you got all the lights switch parts in a bowl.
Now it’s time to clean the contacts on the lever. As mentioned in my previous post, Citroen Xsara… (PART ONE DISASSEMBLY), There is an article I found a while back explaining the various types of technology used for the switch (https://citroenc3owners.com/citroen-c3-tips/the-com2000-or-steering-wheel-stalks-an-inside-look-t467.html ). Mine was one of those that that particular article said would not respond to cleaning with some contact cleaning spray.
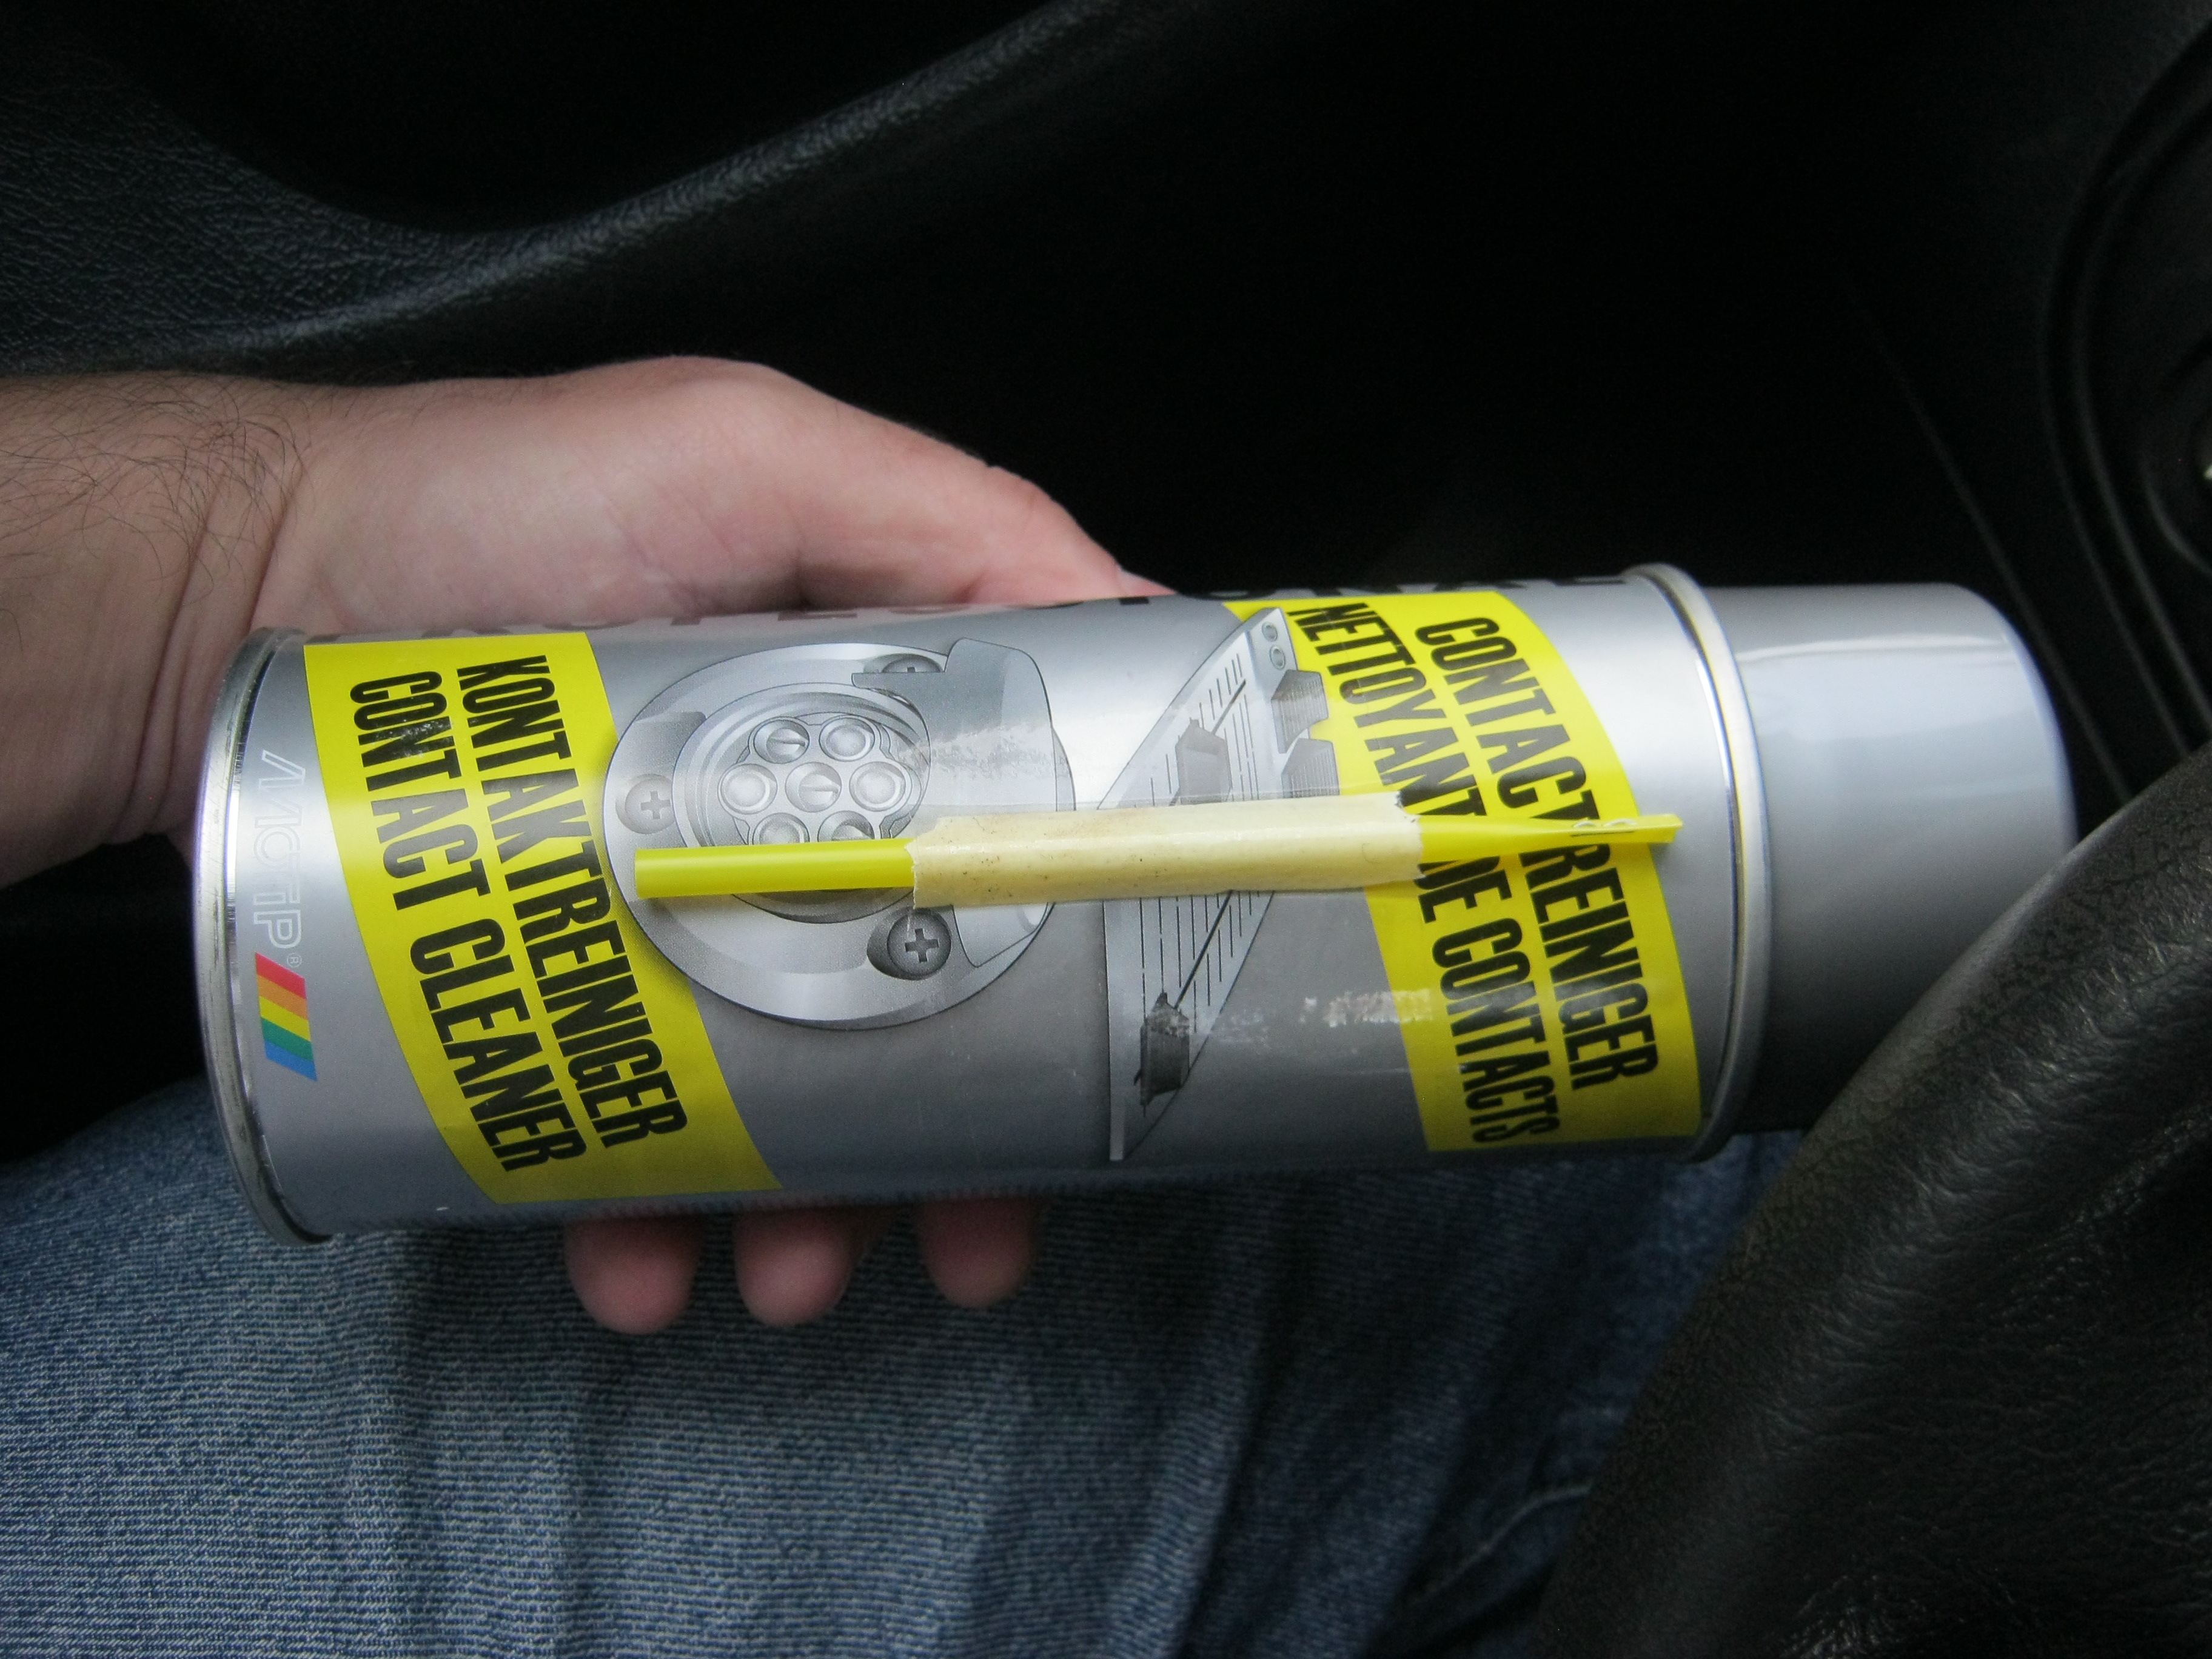
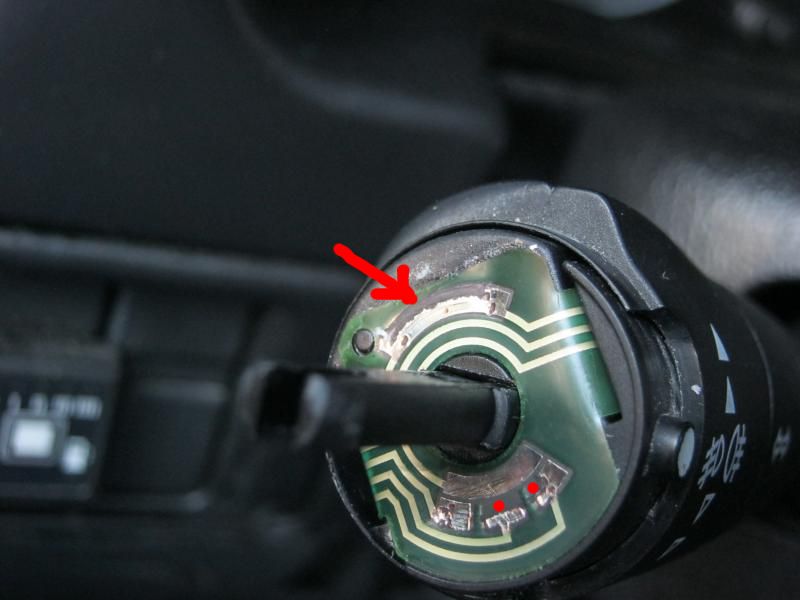
Surprisingly, it worked in my case. For about 9 months I had no problems at all. So give it a go before you try anything more radical. To be honest, this time I noticed that the brass contacts on the flexible printed circuit were very worn, so I thought just spray cleaning them would not do the job again.
My first thought was to use my soldering iron to add some tin to the worn brass contacts, but I immediately dismissed the idea when I realized that I would almost certainly burn through the fine lamination of the flexible circuit and destroy the switch beyond repair. Then it dawned on me: “What if I could do the same thing without the heat?”. After some research on the internet I learned all about conductive inks (you can even homebrew them from charcoal and paint electronic circuits on plain paper)! But the ink would not last long in the switch’s high friction environment, so I researched a bit more and found that there are conductive glues sold quite cheaply over the internet that cure in room temperature and are friction resistant! They are mostly used to repair and/or modify PCBs (circuit boards) and to repair the heated rear windows of cars. Unfortunately at the time of this historic revelation I could not get my hands on any of that glue. So, since the lights switch lever was already disassembled and in a plastic bowl, I ended up spray cleaning the worn contacts once again and reassembling the unit.
Here is how you go about doing that.
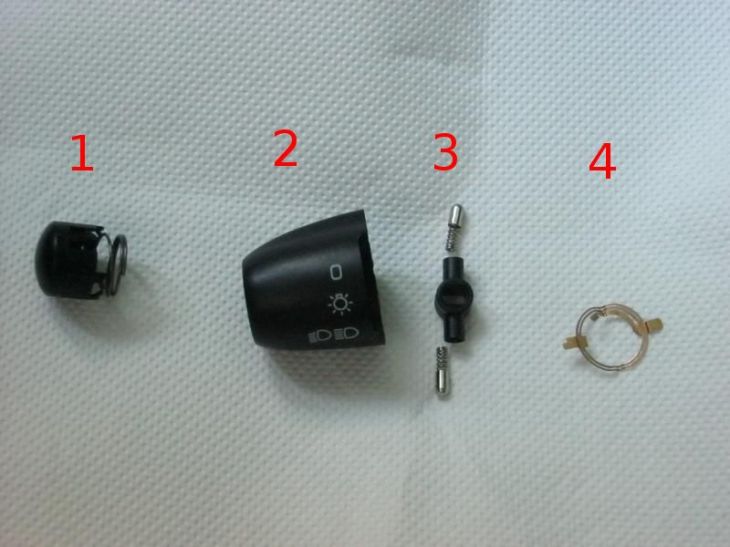
Take the plastic end cap (1) and attach it to the plastic ring (2) you turn to switch the lights on and off (the one with all the indications on it). There are two small clips opposite each other on the end cap. Make sure you match them to the corresponding slots on the plastic switch ring. Once the two parts click into position, take the whole thing and lay it down so you can see the inside.
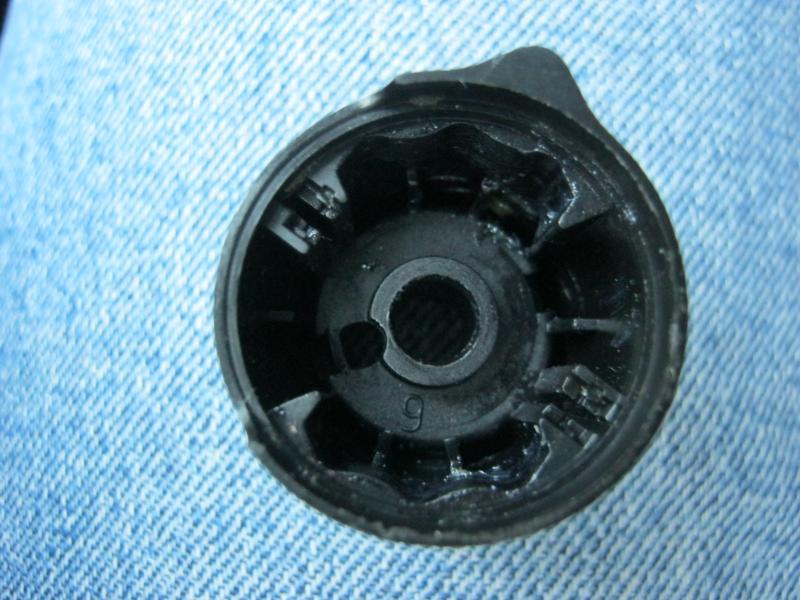
Now, carefully take the part that makes the light switch click between positions when you turn the lights on and off together with the two metallic, bullet-shaped objects sticking out (3) and try to position it at the centre of the previously assembled piece. To do that, you will have to push the bullet-shaped (and spring loaded) objects inwards with your fingers. This part is VERY tricky because the bullet-shaped objects tend to either go in the wrong way or spring out. Be VERY careful not to lose them!
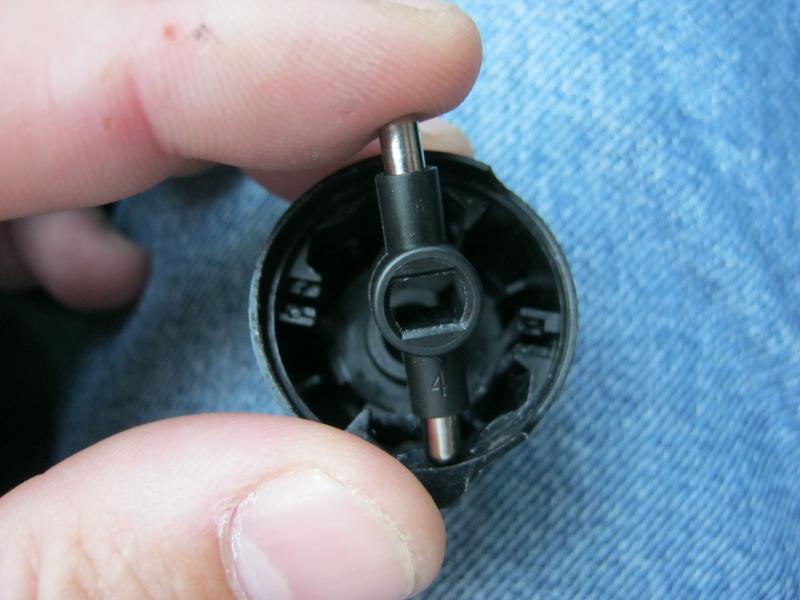
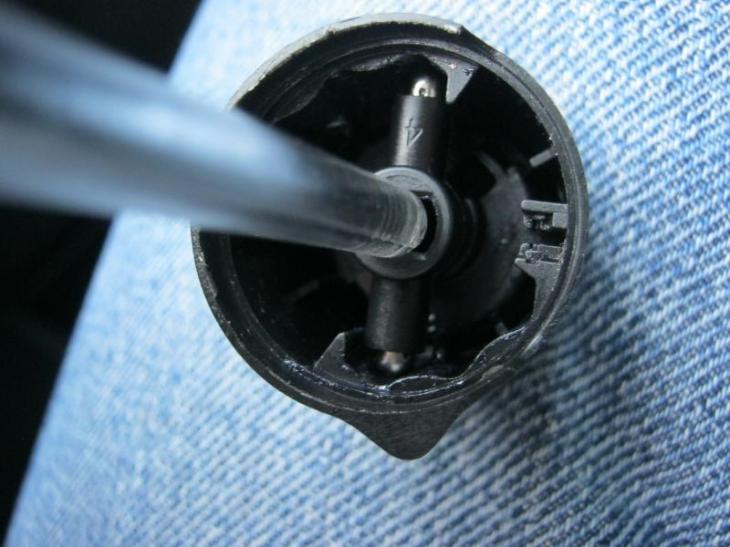
I found that a screwdriver pushing down like in the next picture made things a little easier.
Now, take the metal (brass?) ring (4) and place it o top of everything, at the designated positions. Notice that they are designed so that you can secure the metal ring in place. Do not just lay it on top of everything. The metal ring is curved and pointy on one side. This side should be facing upwards and not towards the rest of the assembly.
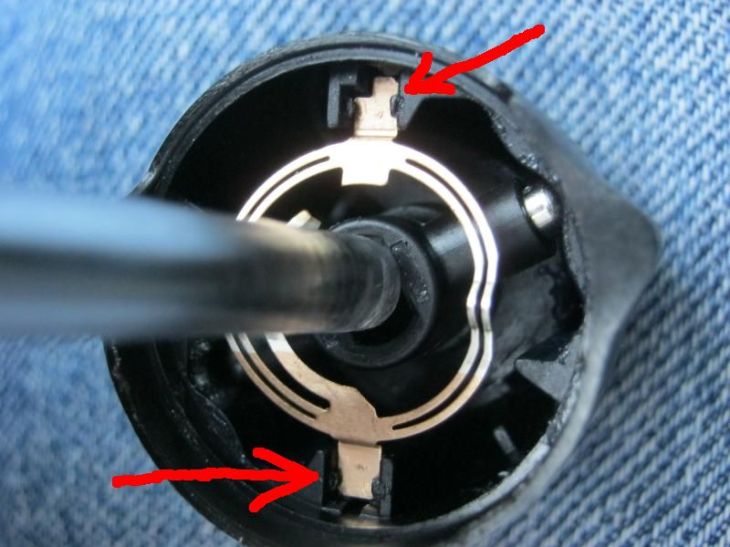
By the way, this pointy side is where electrical contact is made with the flexible circuit.
When everything is in the right place, take the whole assembly and carefully place it on the lever, making sure the indications are facing your way. The lever clip will slide in the assembly and click into position.
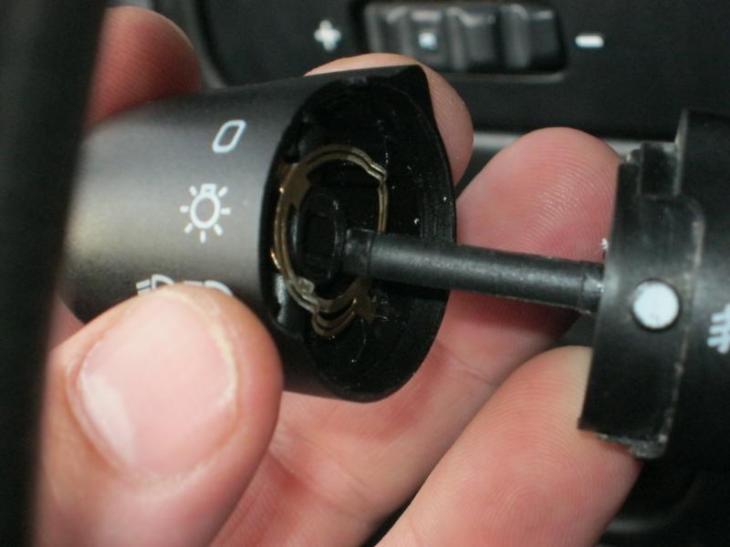
Your lights switch should be working as usual now.
After about a week, I finally received the conductive glue and started repairing. I’ll let you know how it worked in another post…
END OF PART TWO (RE-ASSEMBLY)
Please remember, this is a record of what I did, published as a reminder to myself. YOU ARE SOLELY RESPONSIBLE FOR YOUR OWN ACTIONS.
