About a week ago getting in the driver’s seat of my 2004 Citroen Xsara Break II, I noticed that the seat hight adjustment lever was pulled up to the highest setting. At first I thought my wife had left it like that, but as I actually sat on the seat I realised that it sunk back to the lowest position as I put my weight on it, so I figured something was wrong. The lever switched position accordingly.
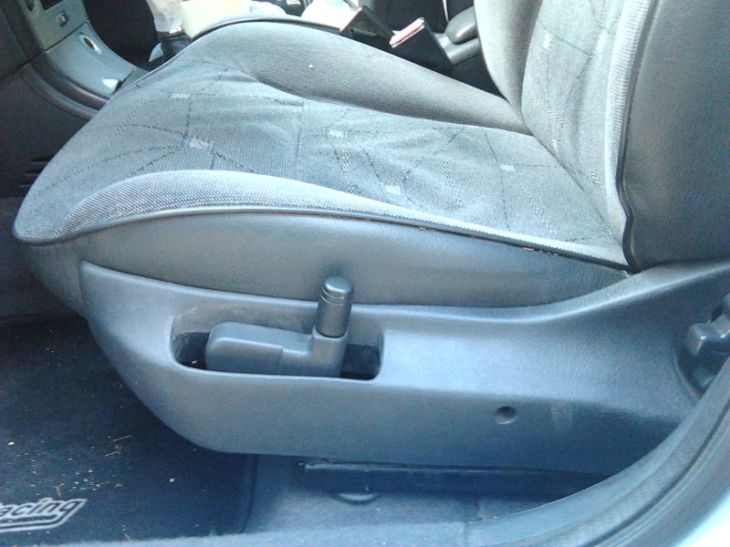
Seat sprung up to the highest position as soon as I got up.
Since then, the seat hight could not be adjusted. Every time I sat on it, it would sink to the lowest position, only to spring back up to the highest position as soon as I got up. I did some research on line and although I could not find any detailed instructions on how to fix this problem, I found reports of people having accomplished that, so I thought I’d give it a try.
It turned out that fixing it was pretty straight forward and required no special tools, other than a Phillips screwdriver and a Torx key.
First I took the Torx key and removed the screw holding the plastic cover on the side.
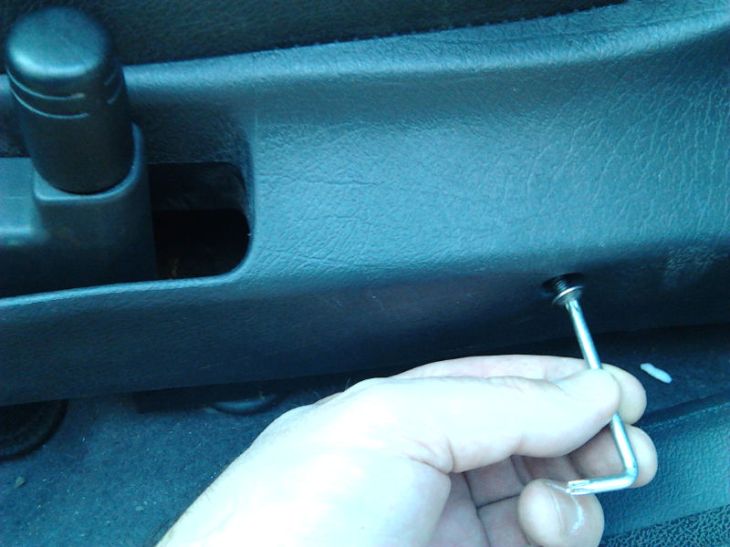
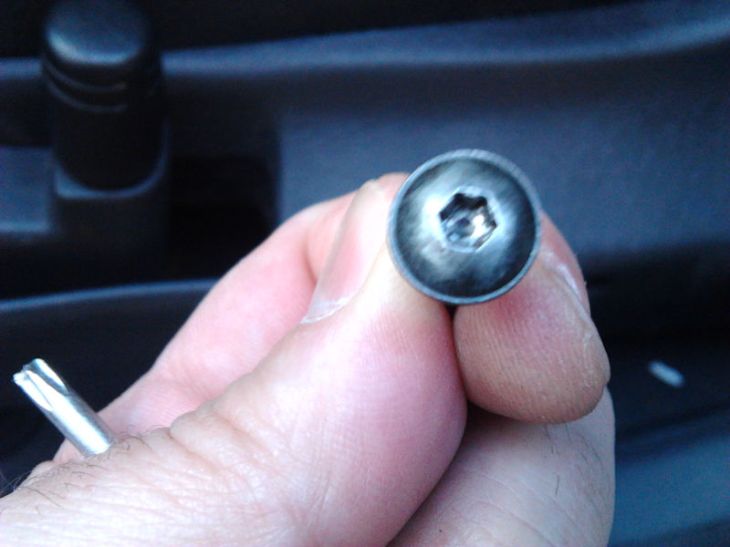
When I removed the screw I could just lift the front part of the plastic cover up and take a look at the lever.
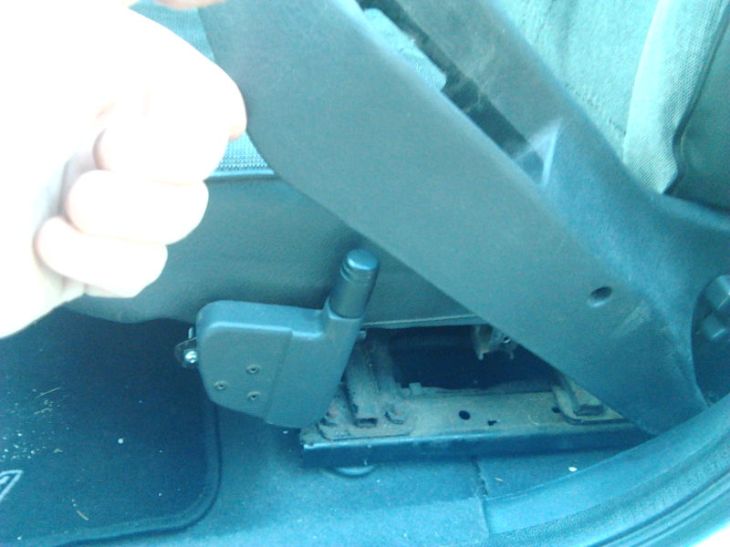
Note that this is picture was actually taken after I had fixed it (hence the lever is properly screwed to the seat chassis)
I noticed the hole(s) in front (to the left) of the lever, where a screw seemed to be missing.
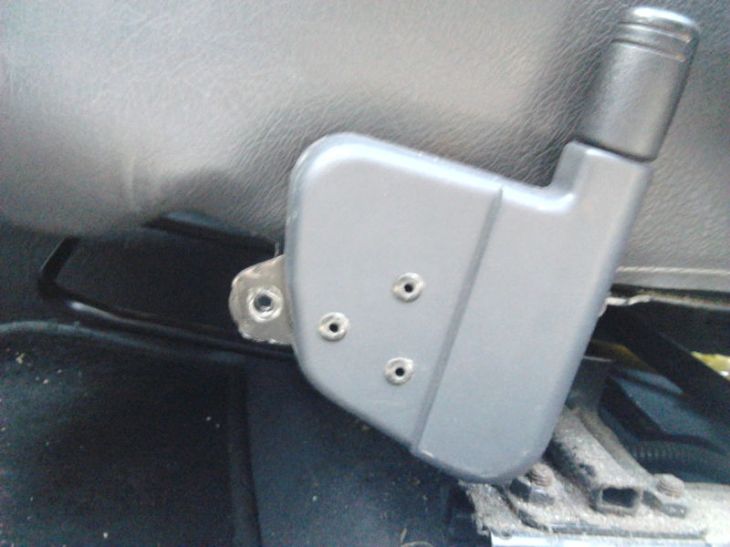
Note that in this picture the hole on the lever’s metal plate is aligned with the corresponding hole on the seat’s chassis. This is its proper position and it may not have been like that when I first removed the plastic cover.
Anyway, I went on to remove the lever by pulling it outwards. I later realised I probably needn’t have done that. Although it did help me partly understand how the lever works, it also cost me some time trying to correctly reposition it. Here’s a couple of pictures to satisfy your curiosity.
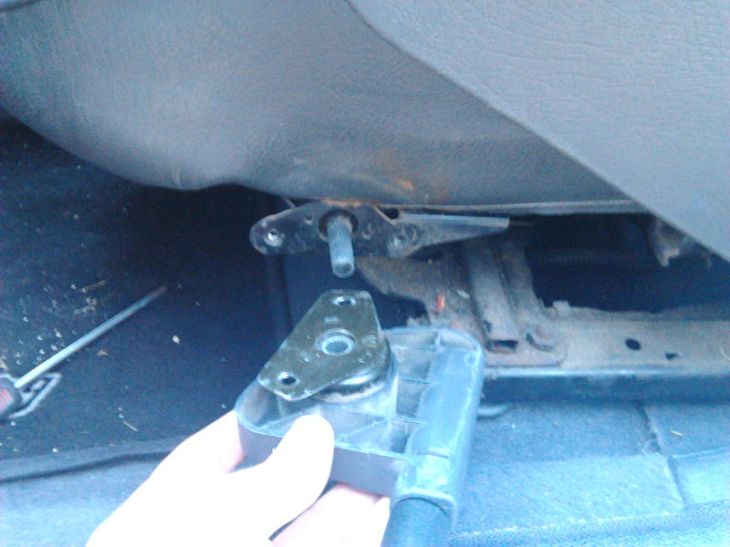
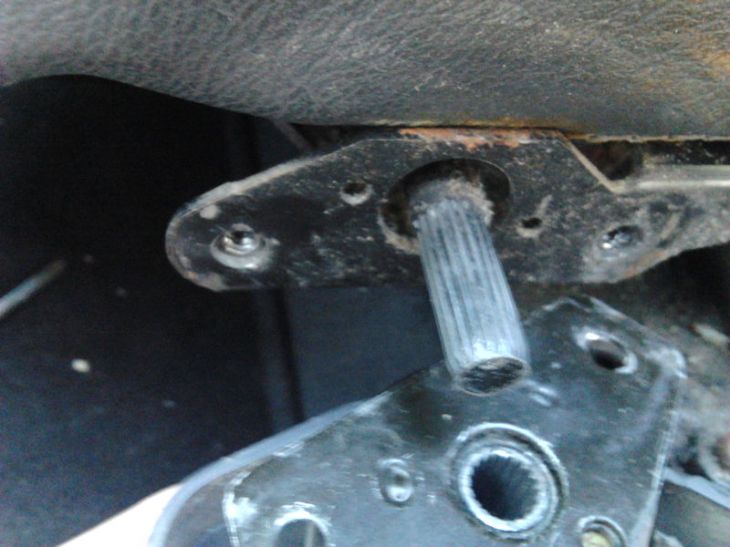
Anyway, doing that I saw there was another screw missing behind (to the right of) the lever.
I placed the lever back on the protruding shaft as it normally is when the seat is set at the highest setting, aligned the holes in front (to the left) of the lever and screwed a new screw on. I did not tighten it much though, as I later found out that it would make it difficult to correctly align the holes behind (to the right of) the lever.
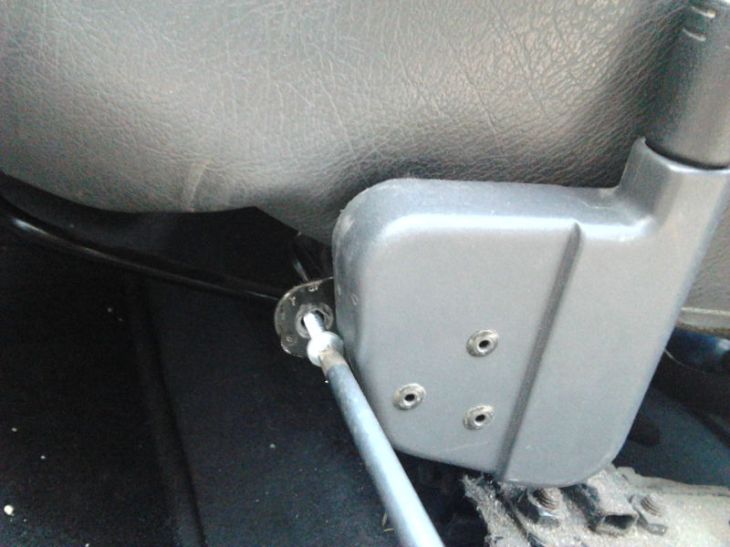
The missing screws were exactly the same size and type as the one I removed from the plastic cover, and I happened to have a couple of those in my tool box, only with a Phillips head, instead of Torx.
After screwing the first screw I tested the seat hight adjustment and found it once again worked. I set the seat to the lowest setting and started screwing the second screw on. As you can see in the picture below, the holes were not perfectly aligned, and I had to “convince” them into place by pulling down on the lever. Alternatively, one could have someone else sit in the driver’s seat while placing the second screw.
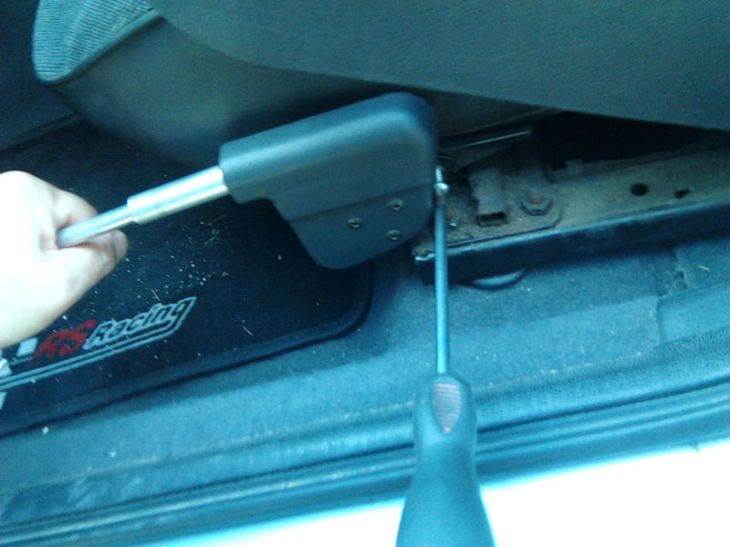
I then set the seat to the highest setting again, tightened that first (left) screw properly and brought the seat back to its highest setting. After that, it was just a mater of pushing the plastic cover in place over the lever and securing it with its screw.

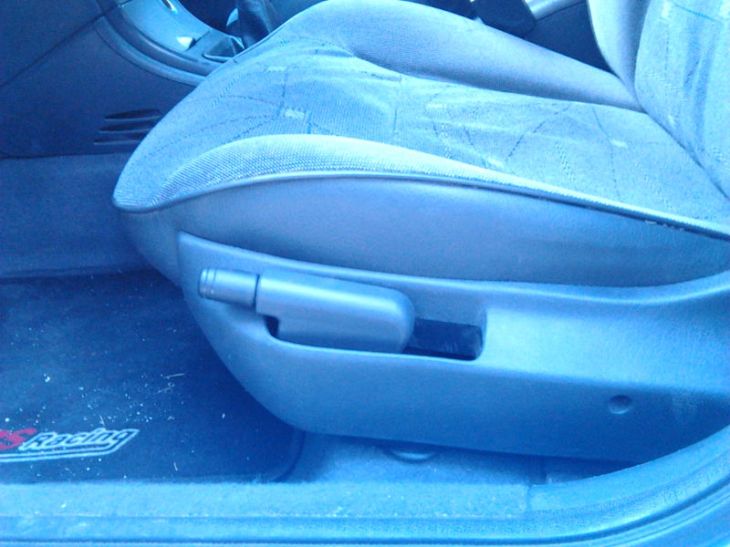
And there it was! The seat hight adjustment lever fixed and the driver’s seat set at the lowest setting again! Just the way I like it!
I hope you found this informative and useful.
Cheers!
End of Citroen Xsara – Seat hight adjustment lever repair.
Please remember, this is a record of what I did. YOU ARE RESPONSIBLE FOR YOUR OWN ACTIONS.